STEP-BY-STEP GUIDE
The Window Tinting Process Explained
What actually happens when you bring your car in for window tinting? Here’s the full breakdown — from prep to final inspection — so you know exactly what to expect.
⚡ Quick Answer
Professional window tinting takes 2–4 hours for a full vehicle. The process involves cleaning the glass, precision-cutting the film using computerized templates, applying a slip solution, squeegeeing out water and air, and a final inspection. The tint needs 3–5 days to fully cure — during that time you may see small water bubbles that disappear on their own.
Step 1: Vehicle Inspection & Glass Cleaning
Everything starts with a thorough inspection of your glass. We check for existing chips, cracks, scratches, and any contamination that could cause problems under the film. Even a tiny particle of dust trapped between the tint and glass creates a visible defect, so the cleaning phase is critical.
We clean each window multiple times using a combination of soapy water and a razor blade to scrape off any invisible residue — tree sap, adhesive from old stickers, silicone from car washes, and mineral deposits from hard water. The interior side of the glass (where the film goes) gets extra attention. We also clean around the window seals and edges where dirt likes to hide and migrate onto the glass during installation.
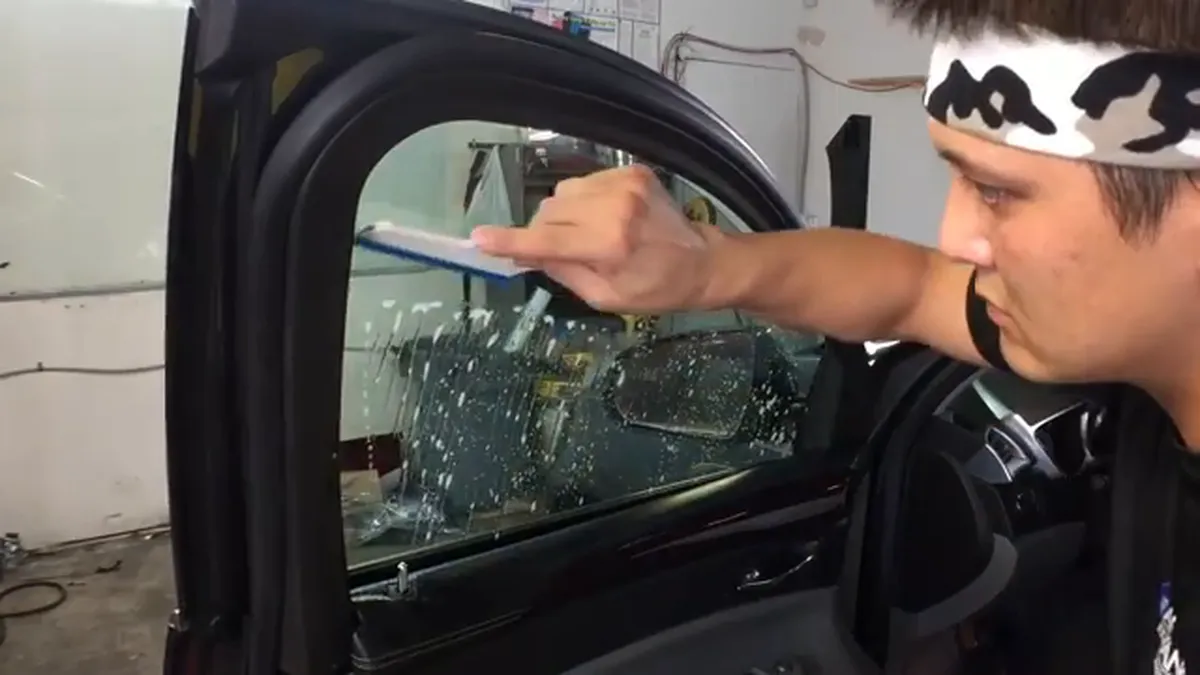
Why does the tint go on the inside of the glass?
Window tint is always applied to the interior surface of the glass. This protects the film from road debris, car washes, weather, and physical damage. The glass itself acts as a shield for the film. On the inside, the tint is protected and can last 10–15+ years without peeling, scratching, or degrading from environmental exposure.
Step 2: Film Cutting & Pattern Matching
Modern professional shops use computerized cutting systems with templates for virtually every vehicle model. We load your exact year, make, and model into our plotter, which cuts each window’s film to within 1mm accuracy. This eliminates the old-school method of cutting on the car’s exterior, which can leave razor marks on the glass and takes significantly longer.
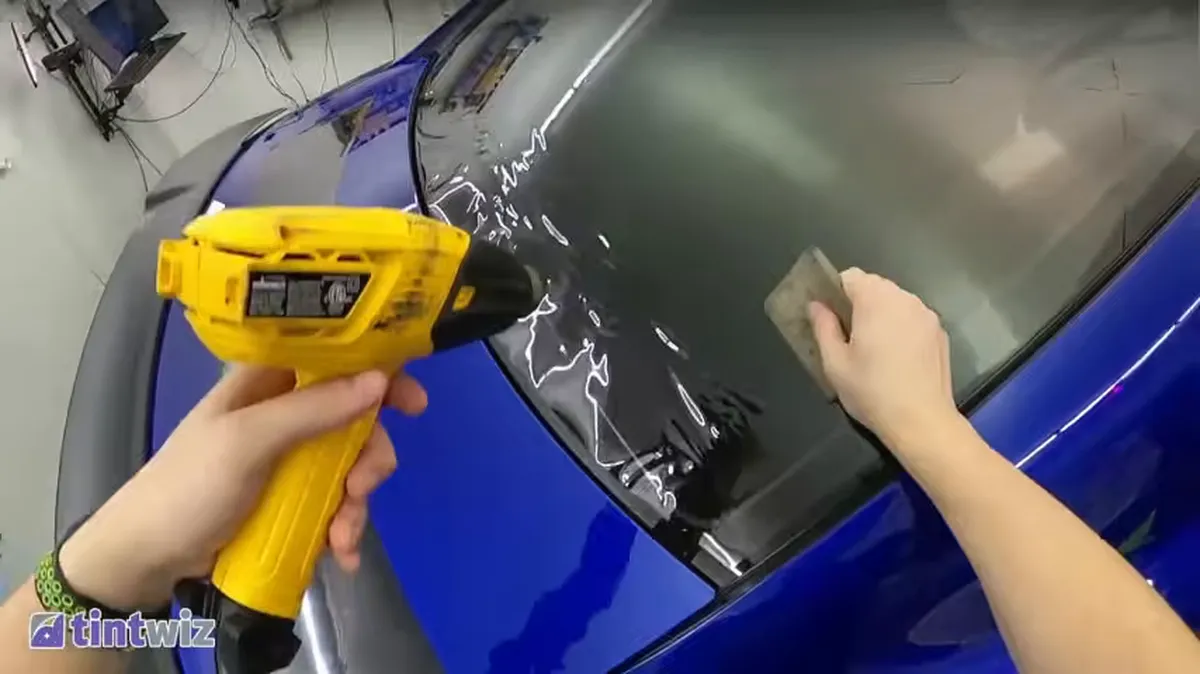
For curved rear windows (like sedans and coupes), the film often needs to be heat-shrunk to conform to the glass curvature. We use a heat gun to carefully shrink the flat film into the compound curve of the glass before installation. This step is what separates experienced installers from beginners — poor heat shrinking causes fingers (wrinkled edges) that never lay flat.
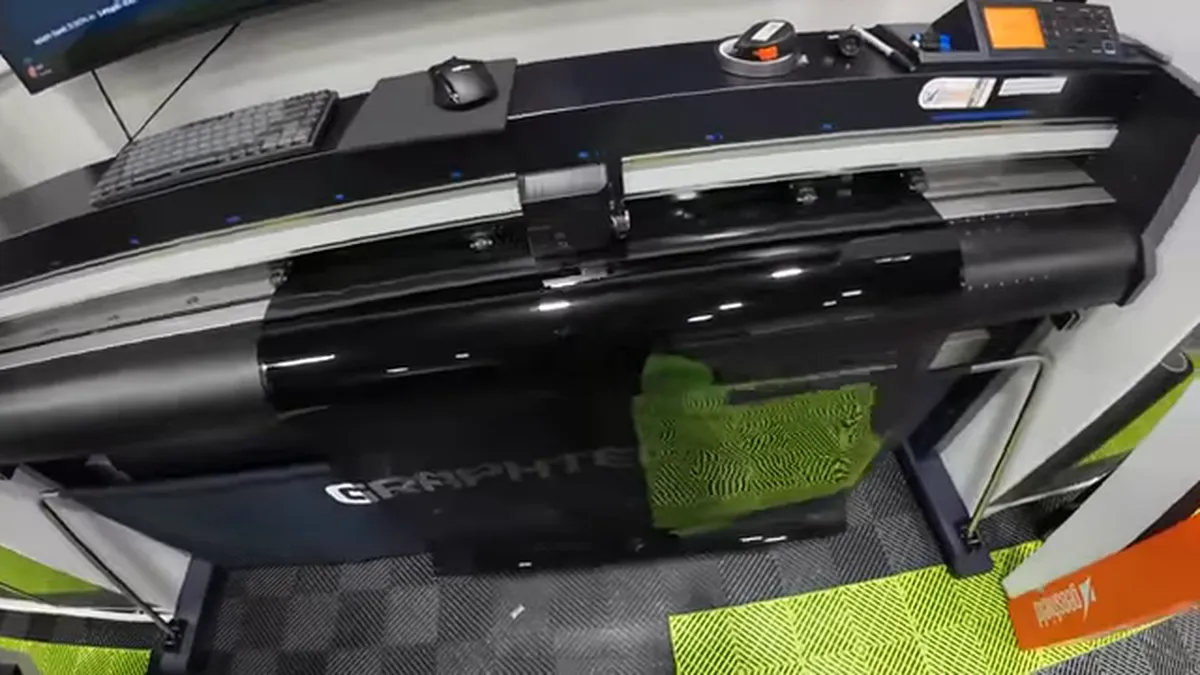
What’s the difference between pre-cut and hand-cut film?
Pre-cut (plotter-cut) film uses exact digital templates that match your specific vehicle. The edges are clean and consistent, and there’s zero risk of blade marks on your glass. Hand-cutting on the car can work well with an experienced installer, but introduces the risk of scratching the exterior glass and inconsistent edge gaps. We use pre-cut templates for every installation.
Step 3: Film Application
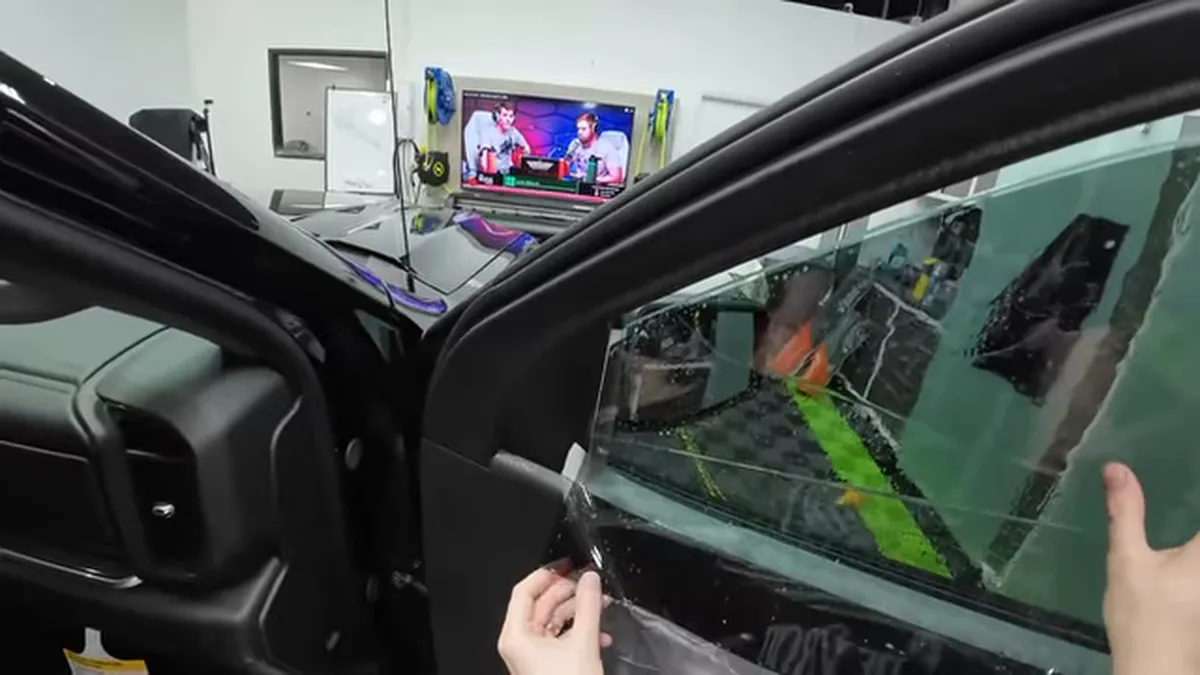
With the glass pristine and the film cut, we spray a slip solution (soapy water) onto both the glass and the adhesive side of the film. This solution allows us to position the film precisely on the glass before it bonds. We peel the protective liner off the film, spray it, and carefully place it on the interior of the glass.
Once positioned, we use professional-grade squeegees to push the slip solution out from under the film, working from center to edges. This removes water and air bubbles while activating the adhesive bond. Different squeegee types and pressures are used depending on the window — flat side windows are straightforward, while curved rear windows require more finesse to avoid pushing the film out of position.
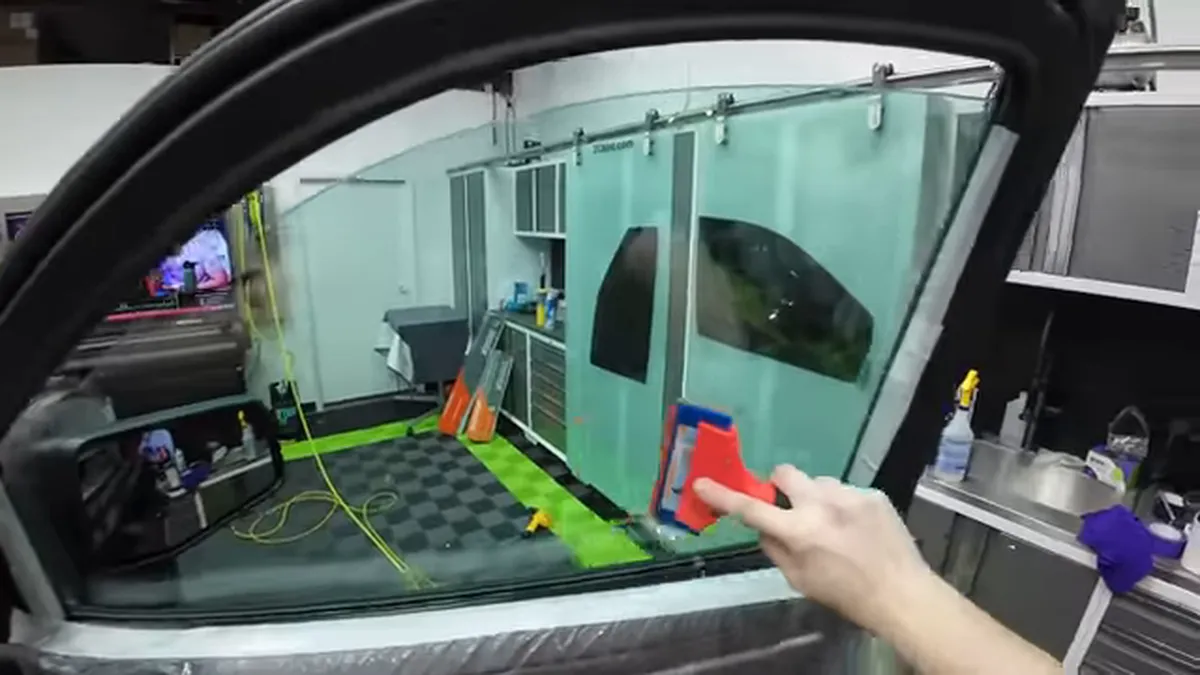
Will the tint touch my dashboard or interior trim?
We protect your interior before we start. Towels cover your dashboard, door panels, and seats to catch any water runoff during installation. The slip solution is just soapy water — it won’t damage leather, fabric, or plastic. After installation, we wipe down all surfaces and make sure your interior is as clean as we found it.
Step 4: Edge Sealing & Final Inspection
After the film is squeegeed flat, we tuck the edges under the window seals and gaskets where possible. This creates a seamless look and prevents the film edges from peeling over time. We then do a final pass with a hard card squeegee along all edges to ensure a tight bond.
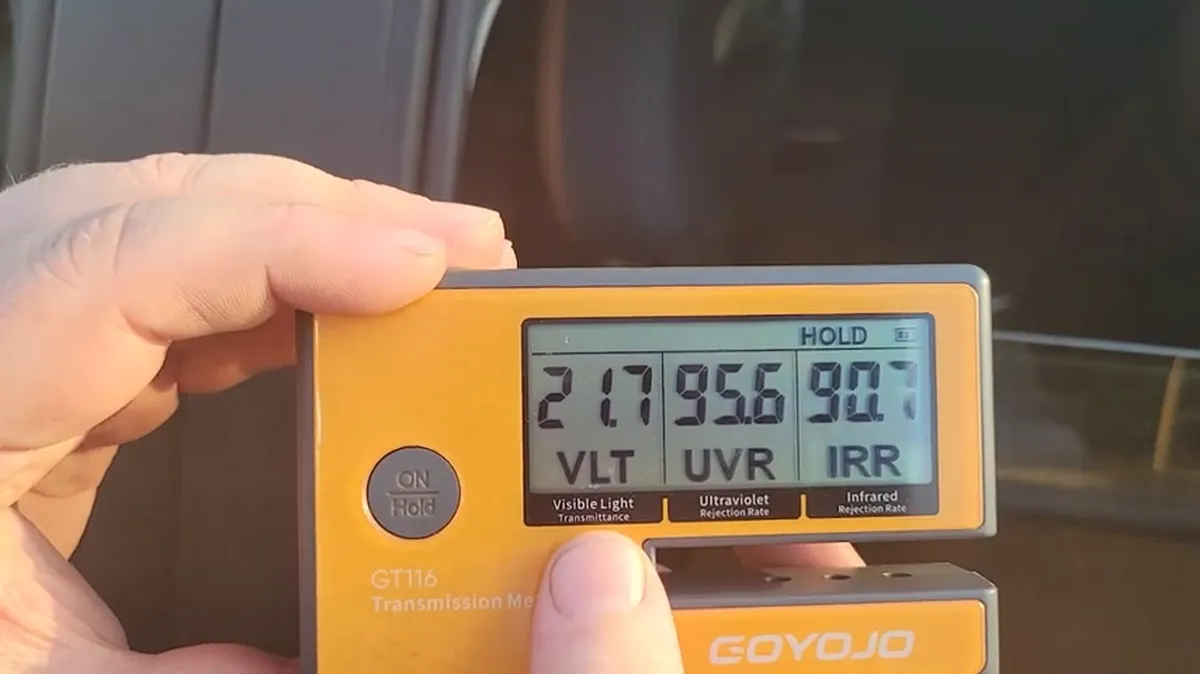
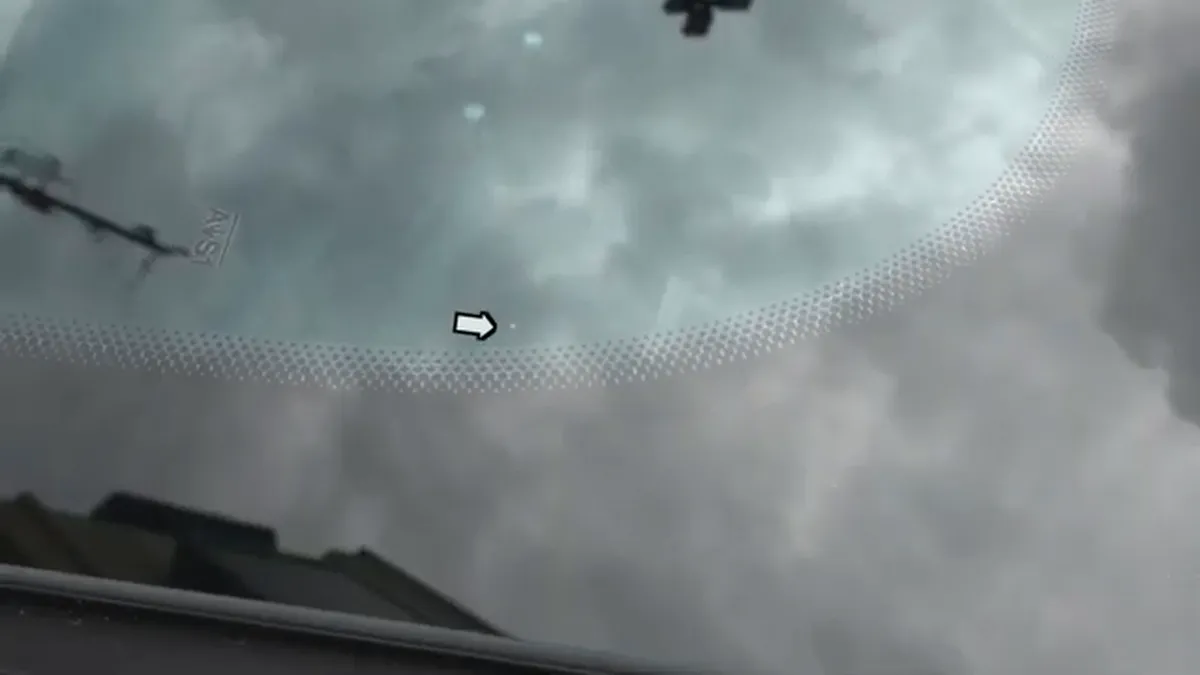
The last step is a full inspection under bright light. We check each window for contamination (dust particles under the film), air bubbles, light gaps at edges, and any imperfections. If something doesn’t meet our standard, we redo that window on the spot. You’ll do a walk-around with us before you leave so we can point out the curing process and what to expect over the next few days.
Step 5: The Curing Process
After installation, the adhesive needs time to fully bond to the glass. In Greenville’s warm climate, curing typically takes 3–5 days in summer and up to 2 weeks in winter. During this time, you may notice small water bubbles or a slightly hazy appearance — this is completely normal and will disappear as the remaining moisture evaporates through the film.
Can I roll my windows down right after tinting?
Wait at least 3–4 days before rolling down your windows (longer in cool weather). The film needs time to bond to the glass, and rolling the window down too soon can cause the film to peel away from the edges. The rear window (which doesn’t roll down) can be left alone. After the curing period, your windows operate completely normally — the tint won’t interfere with power windows or auto-up/down features.
Timeline: What to Expect
Side Windows
1–2 hrs
4 side windows
Includes cleaning & inspection
Drive home same day
Full Vehicle
2–4 hrs
All windows + rear
Heat shrinking included
Same-day pickup
Full Cure Time
3–14 days
Water bubbles disappear
Haze clears completely
Don’t roll windows 3–4 days
What Customers Say
“They walked me through every step before they started. Covered my seats and dash, and the install was done in about 2.5 hours. When I picked it up they showed me the tiny water bubbles and explained they’d go away in a few days — and they did. Really professional operation.”
— James K., Greenville
“I had a bad experience at another shop where they hand-cut on my windshield and left scratches. These guys use computer-cut templates for everything — no blade ever touched my glass. The edges are perfect, no light gaps anywhere. Wish I’d come here first.”
— Rachel M., Five Forks
“Dropped off my Accord on Pleasantburg Drive at 9am, picked it up at noon. The film on the rear window is smooth with no creases — I’ve had other shops leave fingers on curved glass before. These guys clearly know what they’re doing with the heat shrink.”
— David P., Taylors
Window Tinting Process FAQ
Ready to Get Your Windows Tinted?
Professional installation on Pleasantburg Drive in Greenville. Most vehicles done in 2–4 hours. Lifetime warranty on all ceramic film.